

Ready to tap into the full potential of your MacBook and use it to craft captivating content, share your expertise, and communicate effectively in today’s digital realm? Well, you’ve landed in the right spot. Welcome to our comprehensive guide on recording your MacBook screen, where we’ll dive deep into the art and science of screen recording.
In today’s tech-savvy world, screen recording has become an indispensable tool for a multitude of purposes. Whether you’re an educator aiming to create instructive tutorials, a gamer eager to immortalize those epic gaming moments, a professional seeking to deliver compelling presentations, or a remote worker needing to facilitate seamless online meetings, the ability to record your MacBook screen can be a game-changer.
With macOS offering built-in screen recording features and a plethora of third-party software options at your fingertips, the possibilities are virtually endless. Whether you’re a novice in search of a straightforward solution or a seasoned content creator hungering for advanced editing capabilities, rest assured – we’ve got you covered.
Built-in macOS Screen Recording

Built-in macOS screen recording is a convenient and user-friendly feature that comes integrated into the macOS operating system on your MacBook. With this native screen recording tool, you have the ability to capture everything happening on your screen effortlessly, making it an invaluable resource for a variety of tasks. Whether you’re looking to create educational tutorials, record important presentations, showcase your software expertise, or simply capture memorable moments from your favorite games, built-in macOS screen recording provides a straightforward solution without the need for third-party applications. You can choose to record either the entire screen or select a specific portion of it, giving you flexibility in what you capture. The process is easy to initiate, and stopping a recording is just as straightforward. Your recordings can be saved to a location of your choice, making it convenient to access and share your content.
- Open the application or content you want to record.
- Press Shift + Command + 5 on your keyboard to open the macOS screen recording toolbar.
- Choose either “Record Entire Screen” or “Record Selected Portion” based on your preference.
- Click the “Record” button to commence recording.
- To stop the recording, either click the stop button in the menu bar or press Control + Command + Esc.
Pros:
- No need for third-party software: You don’t have to download or install additional applications, as it’s an integrated macOS feature.
- Integrated into macOS: The screen recording toolbar is seamlessly incorporated into the macOS interface, making it easily accessible.
- User-friendly: The interface is straightforward and suitable for beginners.
Cons:
- Limited editing options: While you can trim and save recordings, it lacks advanced editing features.
- Resource-intensive: On older MacBooks, recording may consume a significant amount of system resources.
Main Features:
- Record entire screen or selected portion: You can choose to record your entire screen or a specific area.
- Choose recording destination: macOS allows you to specify where your recordings are saved.
- Basic editing features: You can trim the beginning and end of recordings within the built-in player.
QuickTime Player
QuickTime Player is a versatile multimedia application that serves as an essential tool for Mac users. Whether you’re looking to watch videos, edit media, record your screen, or even share content with others, QuickTime Player has the features and simplicity you need to enhance your multimedia experience on your MacBook. Its integration with macOS and compatibility with various media formats make it a valuable asset for both casual and professional users.
- Open QuickTime Player, which can be found in your Applications folder.
- In the menu bar, select “File” and then choose “New Movie Recording.”
- Click the arrow next to the record button to select your MacBook’s built-in camera or “None” to record the screen.
- Click the record button to start capturing your screen.
- To stop recording, click the stop button in the menu bar.
Pros:
- Built-in application: QuickTime Player comes pre-installed on your MacBook.
- Records screen and webcam: You can choose to record both your screen and your MacBook’s built-in camera simultaneously.
- Decent video quality: QuickTime Player captures high-quality videos.
Cons:
- Limited editing capabilities: It provides minimal post-production options.
- No built-in editing tools: Unlike some third-party options, QuickTime Player lacks a comprehensive video editor.
Main Features:
- Screen and webcam recording: QuickTime Player allows you to capture both your screen and webcam.
- Simple interface: Its user-friendly interface is easy to navigate.
- Suitable for quick recordings: Ideal for straightforward screen capture needs.
ScreenFlow
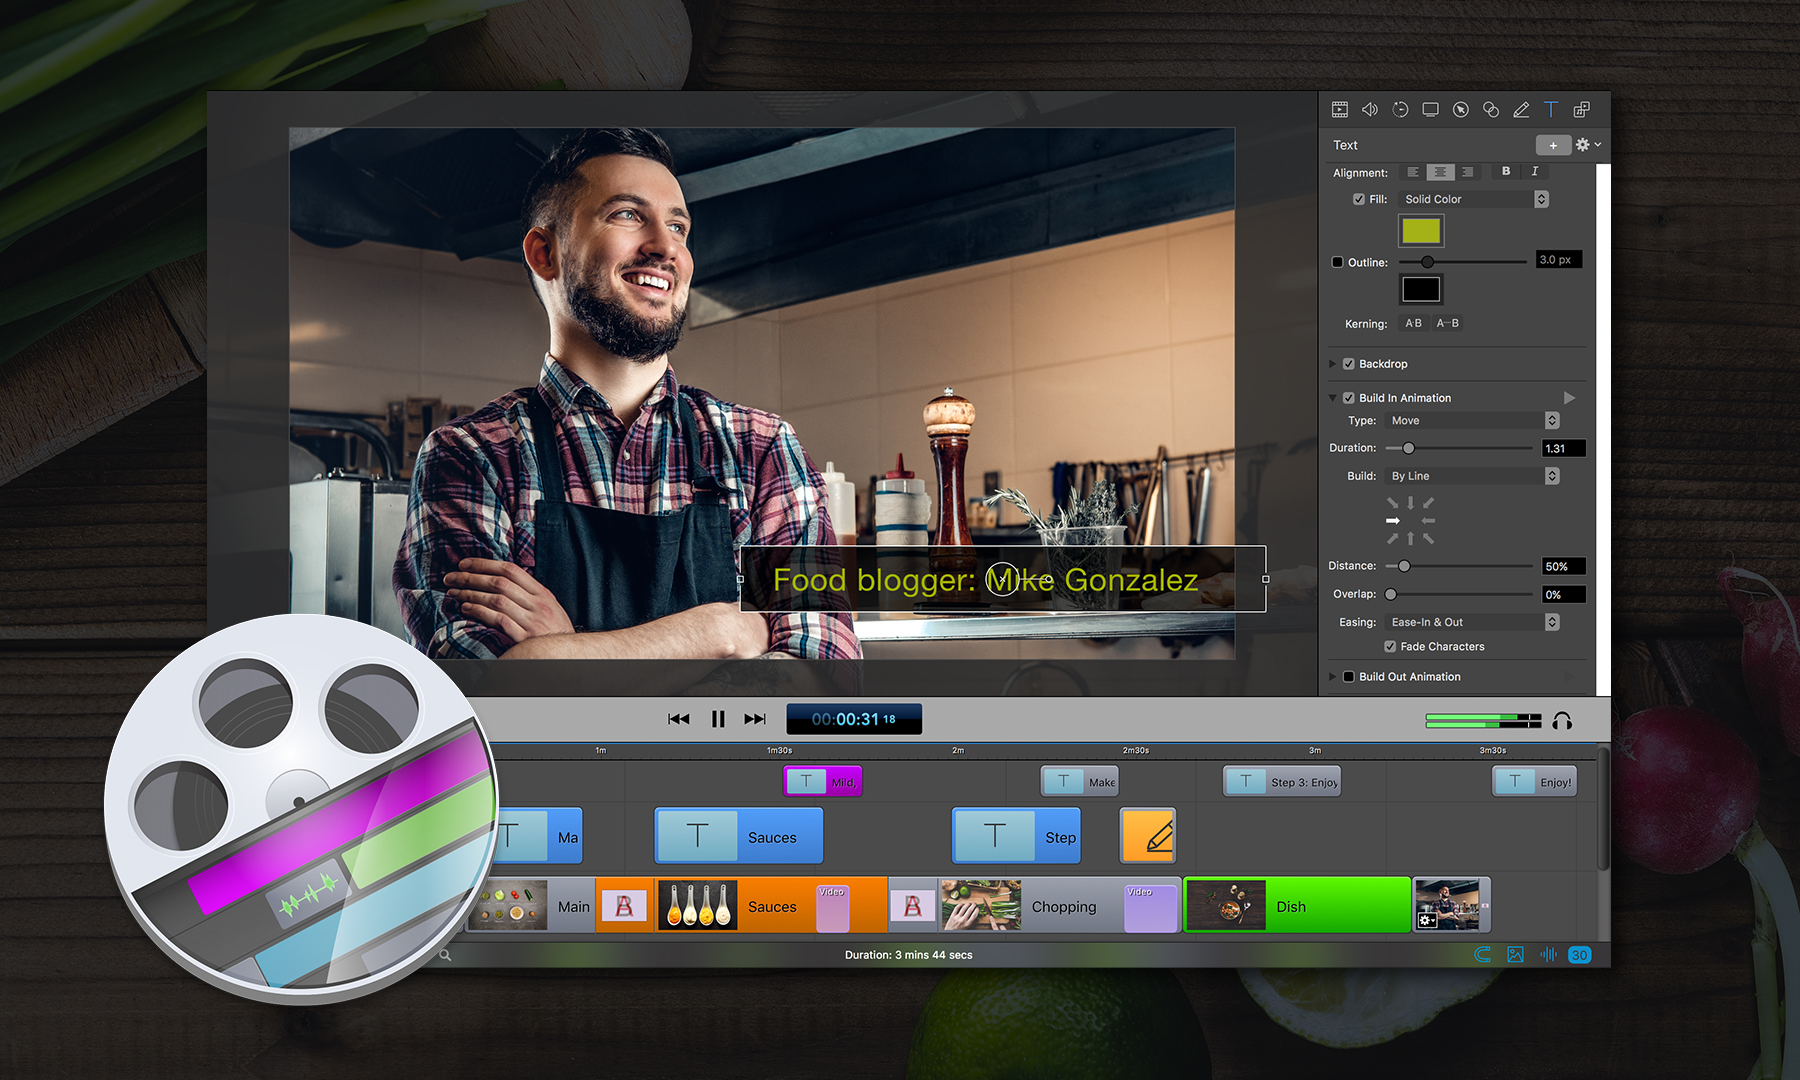
ScreenFlow is a third-party software designed for professional-grade screen recording and video editing. It offers an extensive set of features for creating polished and engaging content. ScreenFlow excels in post-production capabilities, allowing users to edit and enhance their recordings with animations, transitions, and text overlays. It supports the simultaneous recording of system audio and external microphone input, ensuring high-quality audio in your videos. Additionally, it provides the flexibility to export your recordings in various formats to suit your sharing needs.
- Download and install ScreenFlow from the Mac App Store or the developer’s website.
- Launch ScreenFlow.
- Click the red recording button in the main window.
- Choose either “Record Entire Screen” or “Record Selected Portion.”
- Click the “Record” button.
- To stop recording, click the stop button in the menu bar or press Control + Option + Esc.
Pros:
- Advanced editing and post-production: ScreenFlow offers a wide range of video editing tools and features, making it suitable for more complex projects.
- Record system audio and microphone: You can capture both system audio and external audio from a microphone.
- Export in various formats: ScreenFlow supports multiple video export formats for flexibility in sharing your content.
Cons:
- Paid software: While ScreenFlow offers a free trial, the full version is a paid application.
- May be overwhelming for beginners: The extensive feature set and editing capabilities can be intimidating for those new to video editing.
Main Features:
- Professional video editing tools: ScreenFlow includes advanced video editing features such as animations, transitions, and text overlays.
- Multi-channel audio recording: You can record and edit audio from multiple sources, enhancing your content’s audio quality.
- Green screen and animation support: ScreenFlow supports green screen (chroma key) effects and animation, allowing for creative video production.
OBS Studio

OBS Studio is a free and open-source software primarily designed for live streaming but is also a powerful screen recording tool. It is highly customizable and offers advanced features for users requiring flexible recording setups. OBS Studio excels in creating complex video layouts through scene and source management. As a benefit for live streaming, the program supports real-time audio and video mixing. Plugin support extends its functionality for specific use cases.
- Download and install OBS Studio from the official website.
- Launch OBS Studio.
- Click the “+” button in the “Sources” section and choose “Display Capture.”
- Configure the settings for your screen recording, such as display capture options.
- Click the Start Recording button.
- To stop recording, click the “Stop Recording” button.
Pros:
- Free and open-source: OBS Studio is free to use, making it a cost-effective option.
- Highly customizable: It offers extensive customization options for screen capture and live streaming.
- Ideal for live streaming and advanced needs: OBS Studio is well-suited for users looking to create professional live streams in addition to screen recording.
Cons:
- Learning curve: Due to its advanced features, OBS Studio may require some time to learn and set up.
- Requires initial setup: You’ll need to configure various settings before recording, which can be complex for beginners.
Main Features:
- Advanced scene and source management: OBS Studio allows you to set up different scenes and sources, enabling complex video layouts.
- Real-time mixing: It offers real-time audio and video mixing for live streaming and recording.
- Plugin support: OBS Studio supports plugins, expanding its functionality for specific use cases.
Capto
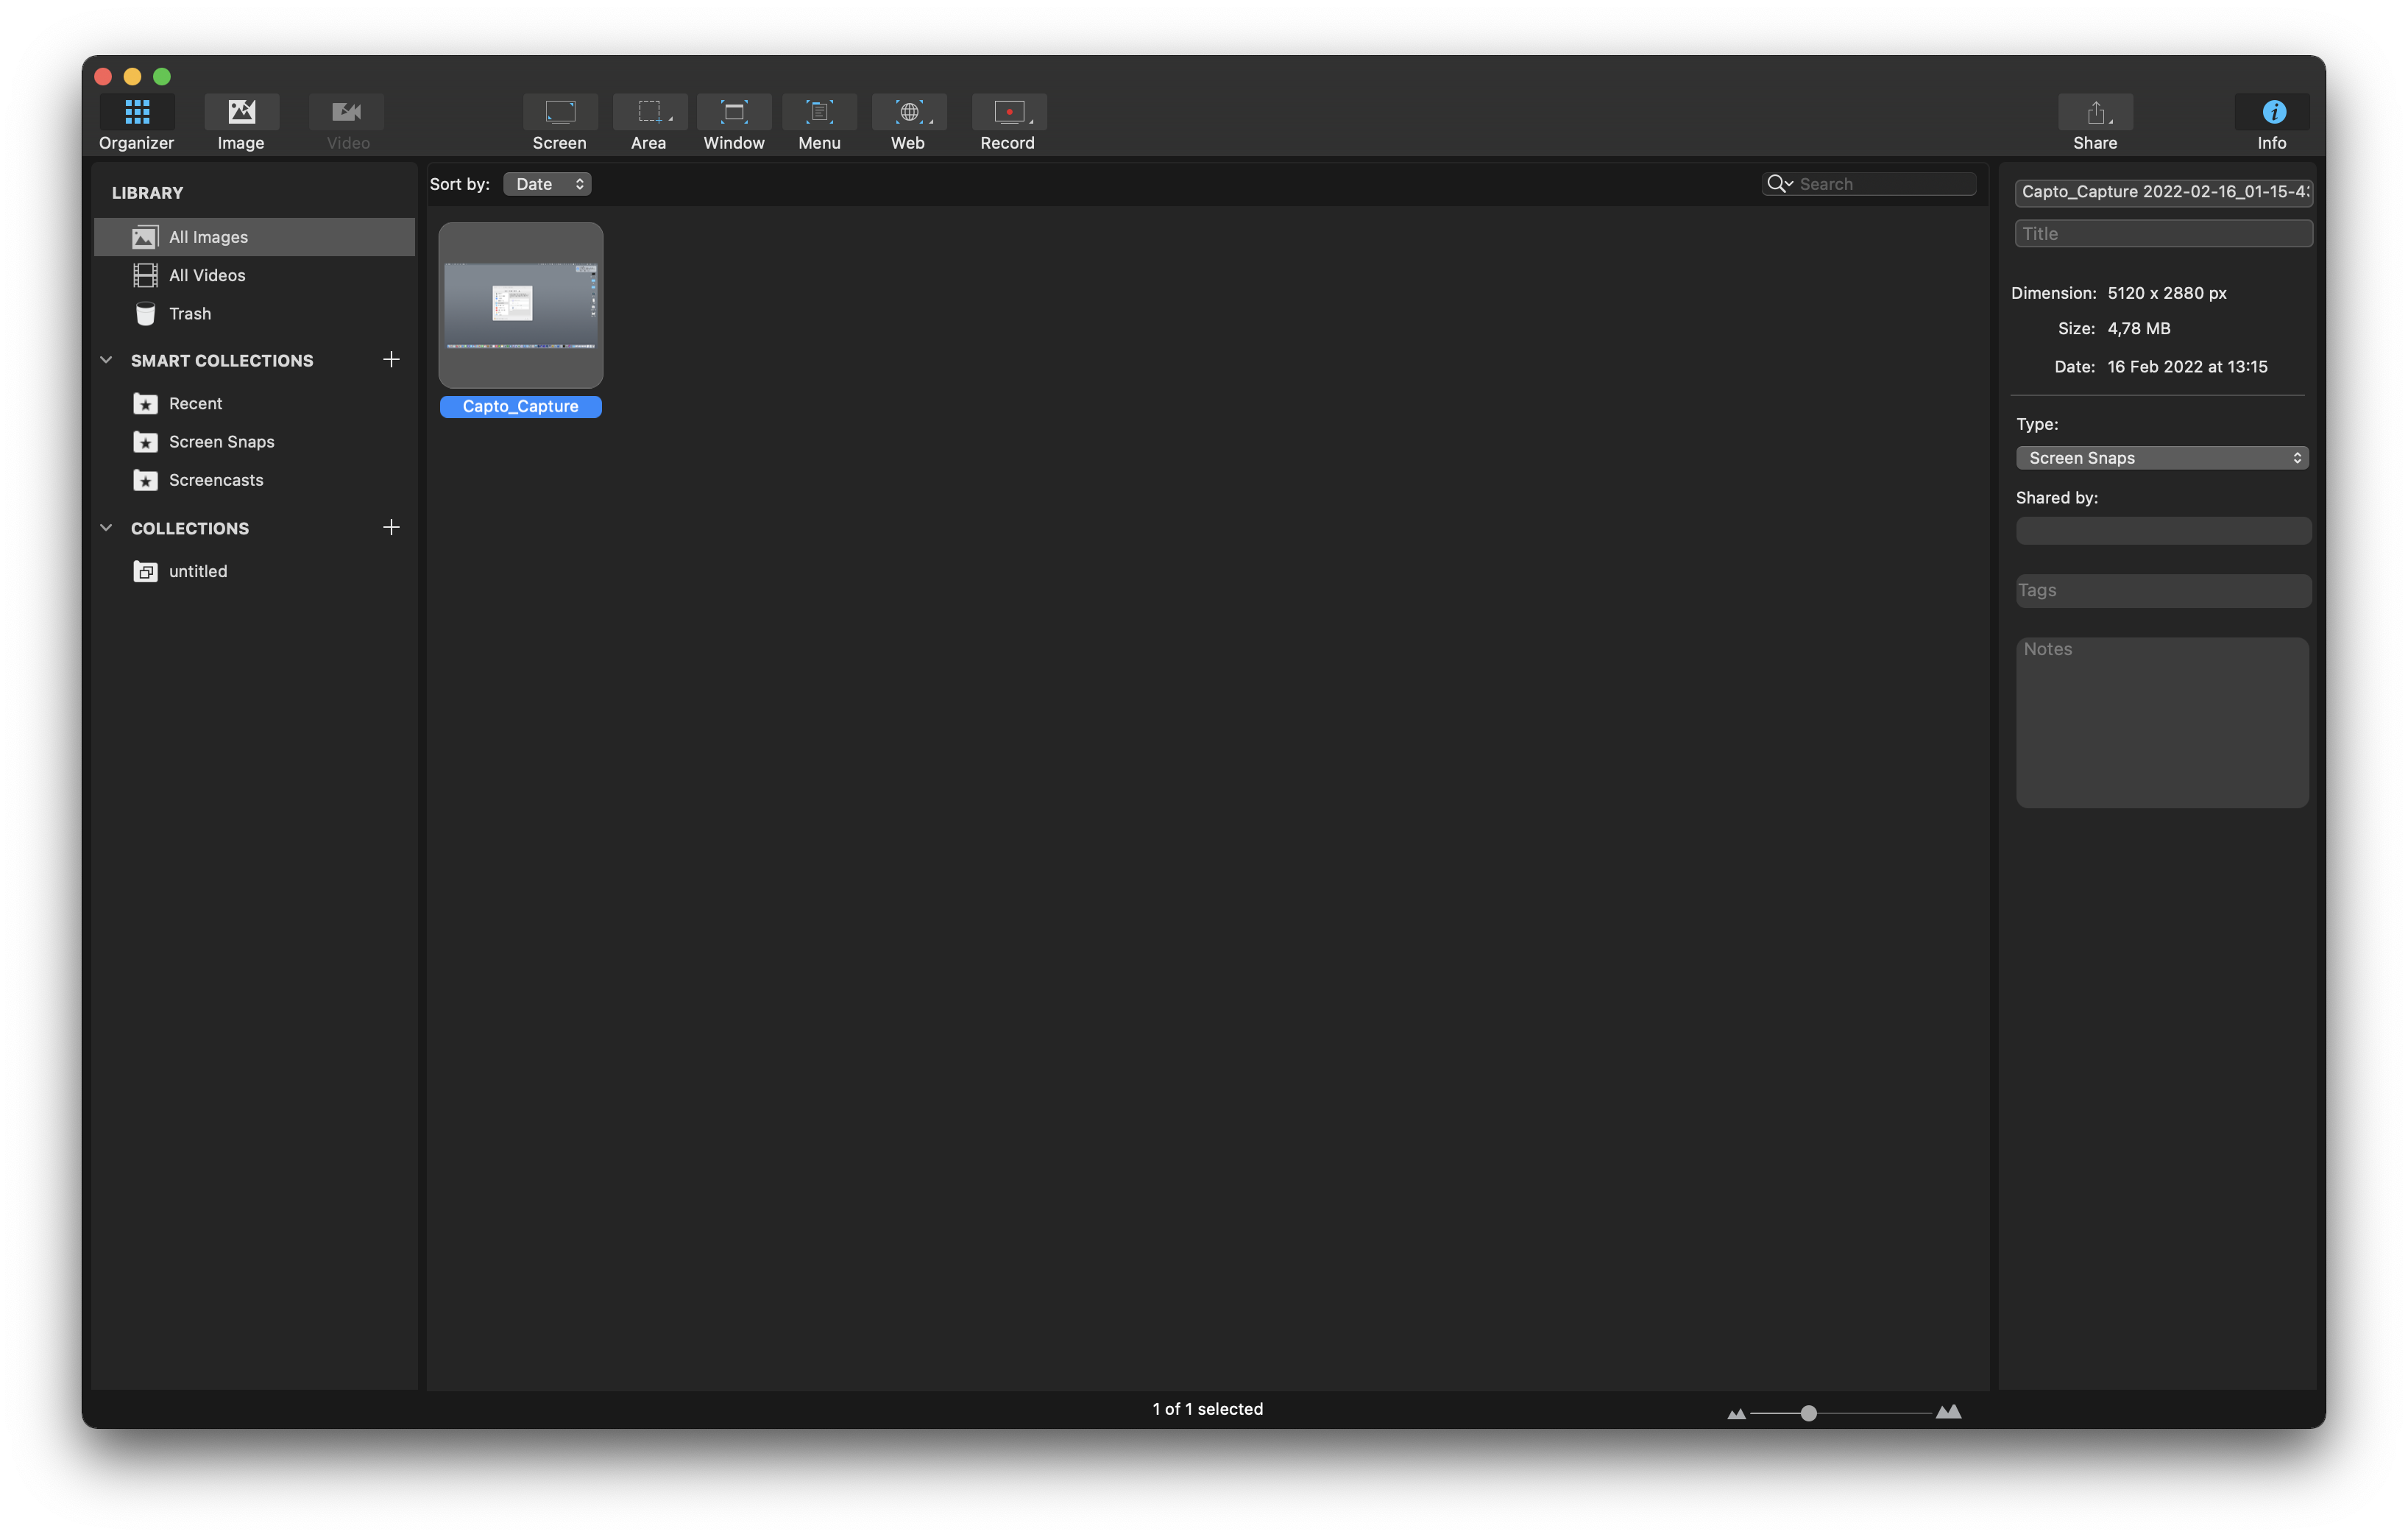
Capto is a versatile third-party screen recording and annotation software designed exclusively for Mac users. It caters to users seeking a user-friendly and feature-rich solution for capturing and enhancing screen recordings. It offers a robust set of annotation tools, including text, shapes, and callouts, to enhance recordings with informative and visually appealing elements. Capto simplifies the sharing process with seamless integration of cloud services and direct sharing to social media platforms. The software also supports webcam and microphone recording, providing additional versatility for content creation.
- Download and install Capto from the developer’s website.
- Launch Capto.
- Click the red “Capture” button.
- Drag the frame over the area you want to record.
- Click the “Record” button.
- To stop recording, click the stop button in the Capto control panel.
Pros:
- User-friendly: Capto features an intuitive interface, making it accessible to both experienced users and beginners.
- Rich annotation tools: It provides a wide range of annotation options, including text, shapes, and callouts, to enhance recordings.
- Easy sharing: Capto simplifies the sharing process with cloud integration and direct social media sharing.
Cons:
- Paid software: Capto offers a free trial, but the full version requires a purchase.
- Limited video editing: While it offers basic editing tools, it’s not as feature-rich as dedicated video editing software.
Main Features:
- Built-in editor: Capto includes an editor with powerful annotation and editing tools to refine recordings.
- Cloud sharing: You can seamlessly upload and share captures through cloud services.
- Webcam and microphone recording: Capto supports webcam and microphone recording, allowing for versatile content creation.
Conclusion
In closing, we’ve traversed the expansive landscape of screen recording on your MacBook, uncovering a wealth of possibilities for creators, educators, gamers, and professionals alike. The five efficient methods we’ve explored cater to a wide spectrum of needs, from simplicity and accessibility to professional-grade editing and customization.
Whether you’re a newcomer to the world of screen recording or a seasoned pro, there’s a method perfectly suited to your unique requirements. The built-in macOS Screen Recording option offers a seamless and user-friendly experience, ideal for quick captures without the need for additional software. QuickTime Player adds webcam recording to the mix, making it an excellent choice for those seeking basic yet effective screen recording alongside webcam footage.
For those striving to create polished and engaging content, ScreenFlow emerges as a powerhouse with advanced video editing capabilities. Its post-production features, including animations, transitions, and text overlays, open up a world of creative possibilities. OBS Studio, initially designed for live streaming, transforms into a versatile screen recording tool, providing extensive customization options and real-time mixing.
Last but not least, Capto stands as a user-friendly, feature-rich third-party solution, enhancing your recordings with a range of annotation tools while streamlining the sharing process through cloud integration.
The key takeaway? The ability to record your MacBook screen is well within your reach, offering countless opportunities for various purposes, from education to entertainment and beyond. Your choice among these methods should align with your specific needs, skills, and objectives. Whether you’re capturing moments of gaming glory, delivering compelling presentations, or crafting educational tutorials, you’re now equipped with the knowledge and tools to embark on your screen recording journey with confidence.
In an era where sharing knowledge and conveying information visually are paramount, mastering the art of screen recording on your MacBook is a valuable skill that opens doors to endless possibilities. So, gear up, get creative, and start sharing your story with the world. Your MacBook screen is your canvas; it’s time to paint your masterpiece!

Diane is a professional photographer and videographer.
All her life has been devoted to creativity. Since 2010 she began to take up photography professionally. Her main focus is weddings, family and individual photo shoots, business photos and reportage. She also shoots videos and wedding movies. Diane has all the best and necessary equipment to work in absolutely any conditions… and even shooting from the air.
If you would like to contact Diane to ask a question or book a project, click here.